Procedural Materials in Blender
- Introduction to Procedural Materials
- Understanding Blender's Cycles Engine
- Basics of Procedural Texturing
- Advanced Procedural Texturing
- Shading Basics
- Procedural Shading Techniques
- Practical Procedural Materials
- Realistic Lighting and Shading
- Advanced Techniques
- Environment Shaders in Cycles
- Procedural Effects
- Rendering and Compositing
- Creating a Final Project
Understanding Blender's Cycles Engine
Rendering in Cycles: A Comprehensive Guide

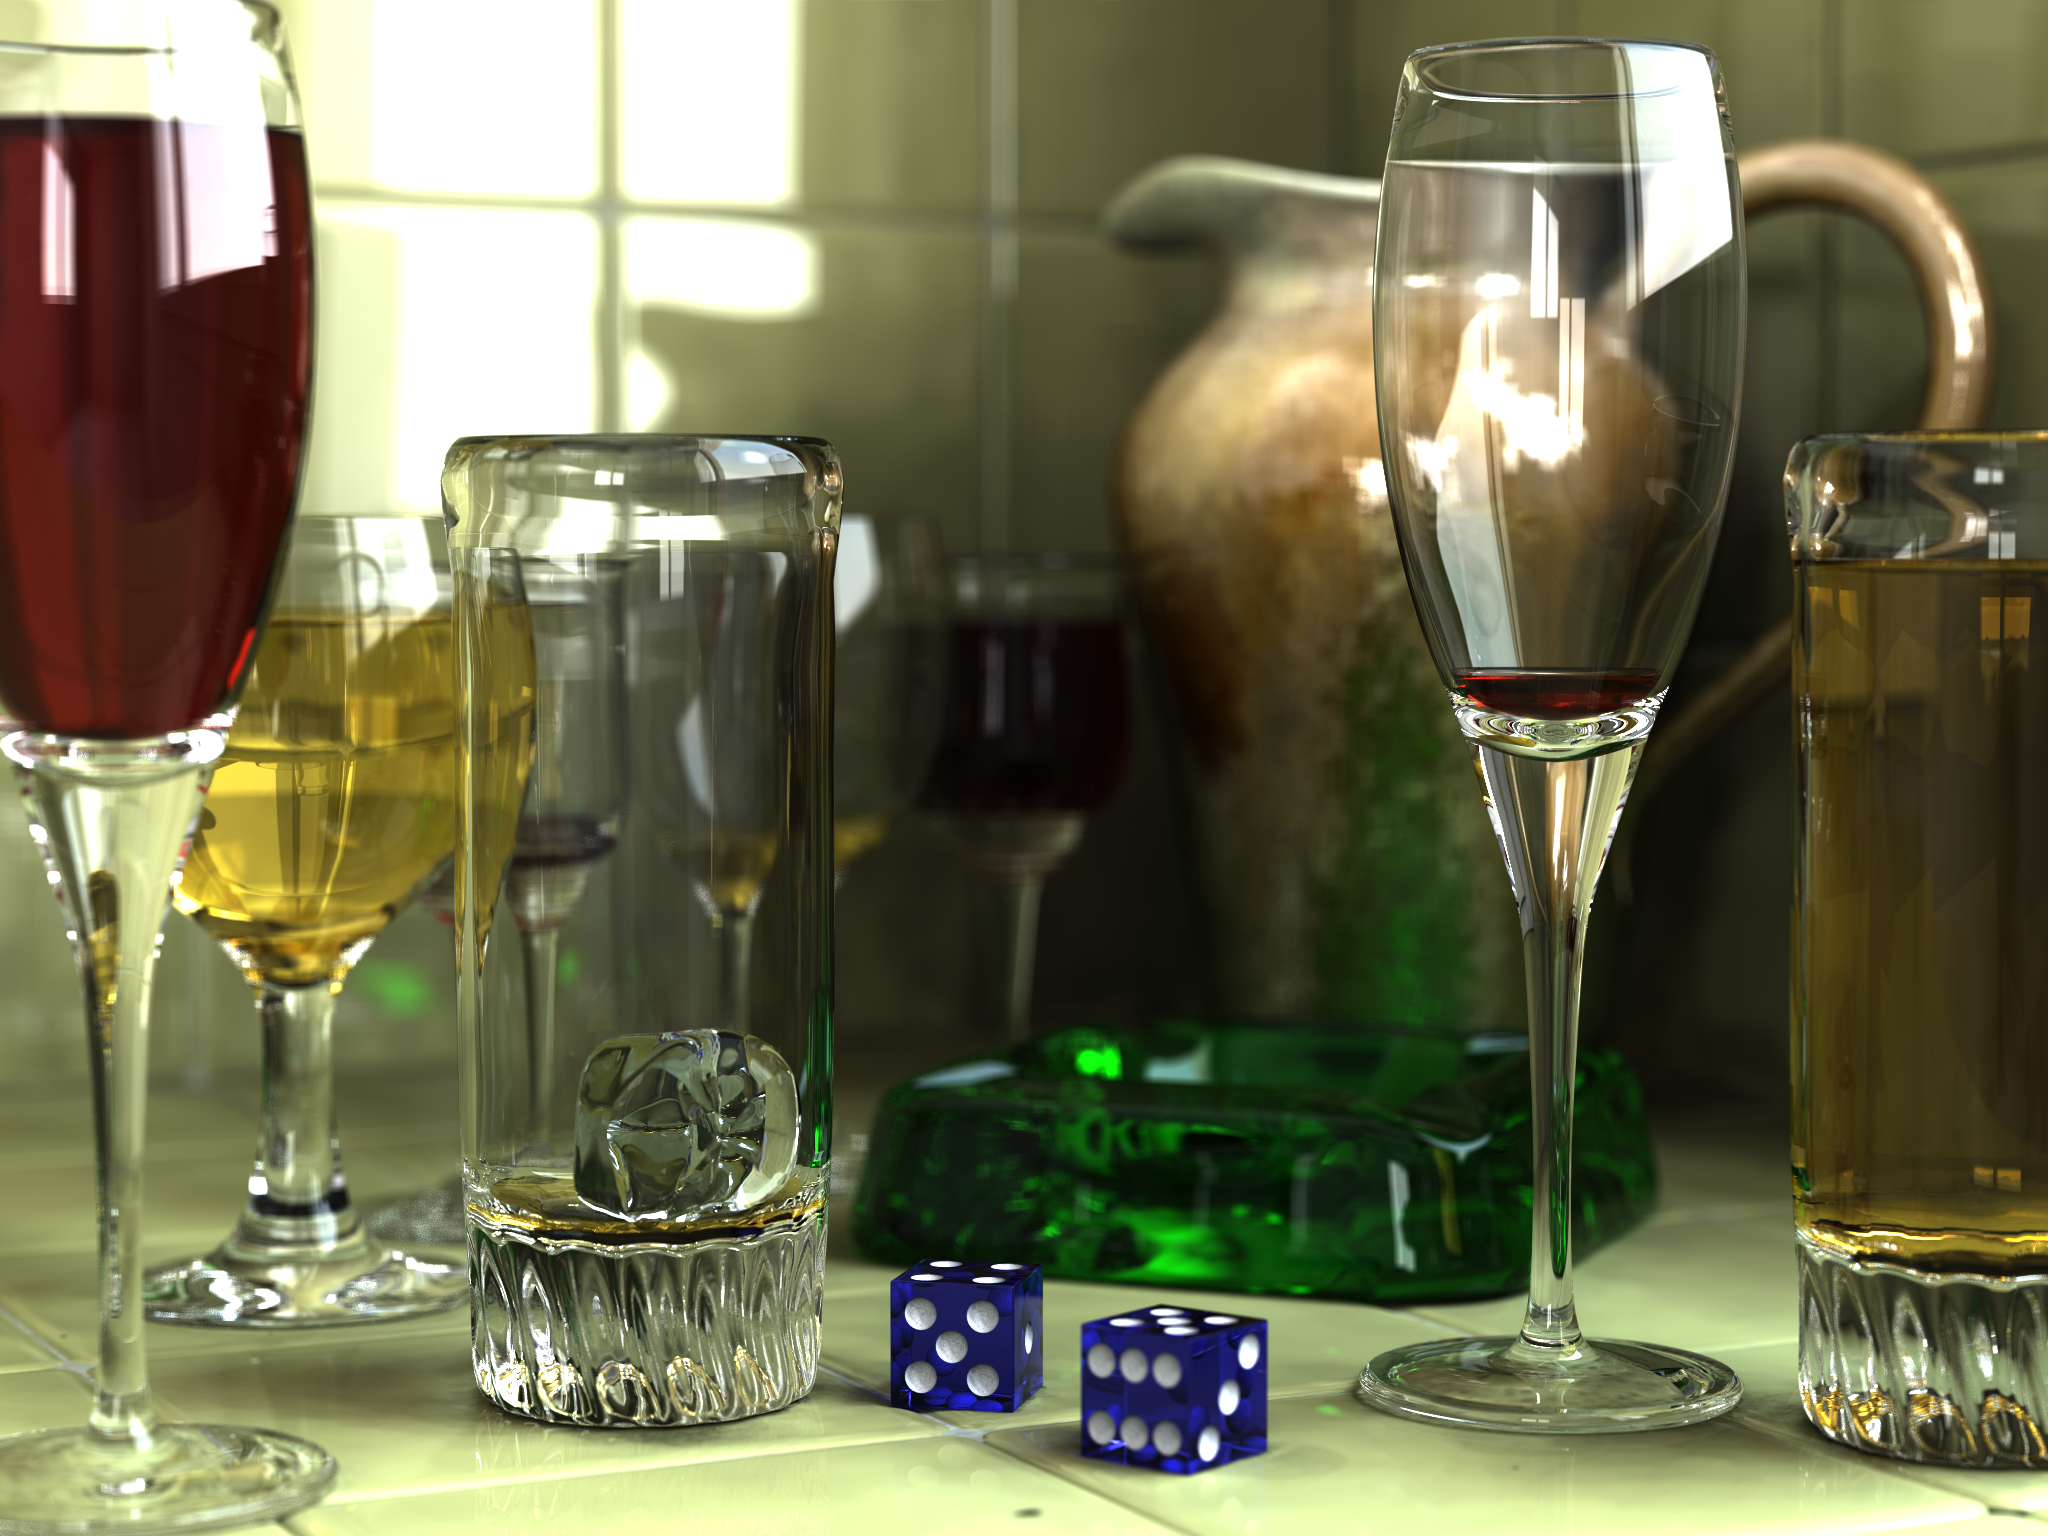
Process of generating an image from a model.
Rendering is a crucial part of the 3D creation process. It's the final step where all your hard work and creativity come to life. In this article, we will delve into the basics of rendering in Cycles, understand the render settings, learn how to optimize render times, and address common rendering issues.
Basics of Rendering in Cycles
Cycles is a physically-based, unbiased rendering engine built into Blender. It uses ray tracing to produce realistic images. When you hit the render button, Cycles traces the path of light rays from the camera to the world, calculating the color of pixels along the way based on the materials and lights in your scene.
Understanding Render Settings in Cycles
The render settings in Cycles can be a bit overwhelming at first, but they are essential for controlling the quality and speed of your render. Here are some key settings:
- Samples: This controls the number of times Cycles calculates light paths for each pixel. More samples result in a higher quality image but increase render time.
- Light Paths: These settings control how many times a light ray can bounce off surfaces. More bounces can create more realistic lighting but increase render time.
- Performance: Here you can adjust settings like tile size to optimize rendering. Larger tiles are generally faster for GPU rendering, while smaller tiles are faster for CPU rendering.
How to Optimize Render Times in Cycles
Rendering can be a time-consuming process, but there are several ways to optimize render times in Cycles:
- Reduce Samples: If your scene doesn't have much noise, you can reduce the number of samples to speed up rendering.
- Use Denoising: Denoising can help reduce noise in your renders, allowing you to use fewer samples.
- Simplify Light Paths: If your scene doesn't require complex lighting, you can reduce the number of light path bounces.
- Use GPU Rendering: If you have a powerful GPU, you can use it for rendering instead of your CPU.
Common Rendering Issues in Cycles and How to Solve Them
Here are some common issues you might encounter when rendering in Cycles, along with solutions:
- Noise: This is a common issue in Cycles renders. Increasing the number of samples and using denoising can help reduce noise.
- Fireflies: These are bright specks that appear in your render. They can be reduced by lowering the number of light path bounces or using the Clamp settings in the Render panel.
- Slow Rendering: If your render is taking too long, try optimizing your render settings as mentioned above. Also, ensure your scene is not overly complex.
Rendering in Cycles can be a complex process, but with a good understanding of the render settings and how to optimize them, you can produce high-quality renders efficiently. Happy rendering!