Baking and Pastry
- Bake Bread Basics
- Pastries And Pies
- 4.1Basics of pastry making
- 4.2Types of pastry: Shortcrust, Puff & Filo
- 4.3Making Quiche and Tarts
- 4.4Making Sweet Pies (Apple pie)
- 4.5Making Savory pies (Chicken pot pie)
- 4.6Making Choux pastry & Cream puffs
- 4.7Making Éclairs and Profiteroles
- 4.8Specialty Pastry: Mille Feuille
- 4.9Flaky Pie Crusts: Tips and Techniques
- 4.10Creative Pie Decoration Techniques
- Cakes & Cupcakes
- Cookies & Small Bites
- 10.1Cookie Baking Basics
- 10.2Classic Almond Biscotti
- 10.3Making Chocolate Chip Cookies
- 10.4Nutty Walnut Cookies
- 10.5Making Sugar Cookies and Decorating with Royal Icing
- 10.6Making Macarons
- 10.7Making Petit Fours
- 10.8Specialty Cookies: French Madeleines
- 10.9Specialty Cookies: Italian Amaretti
- 10.10Packaging & Presentation of Cookies and Small Bites
Bake Bread Basics
Shaping and Baking Bread: A Comprehensive Guide
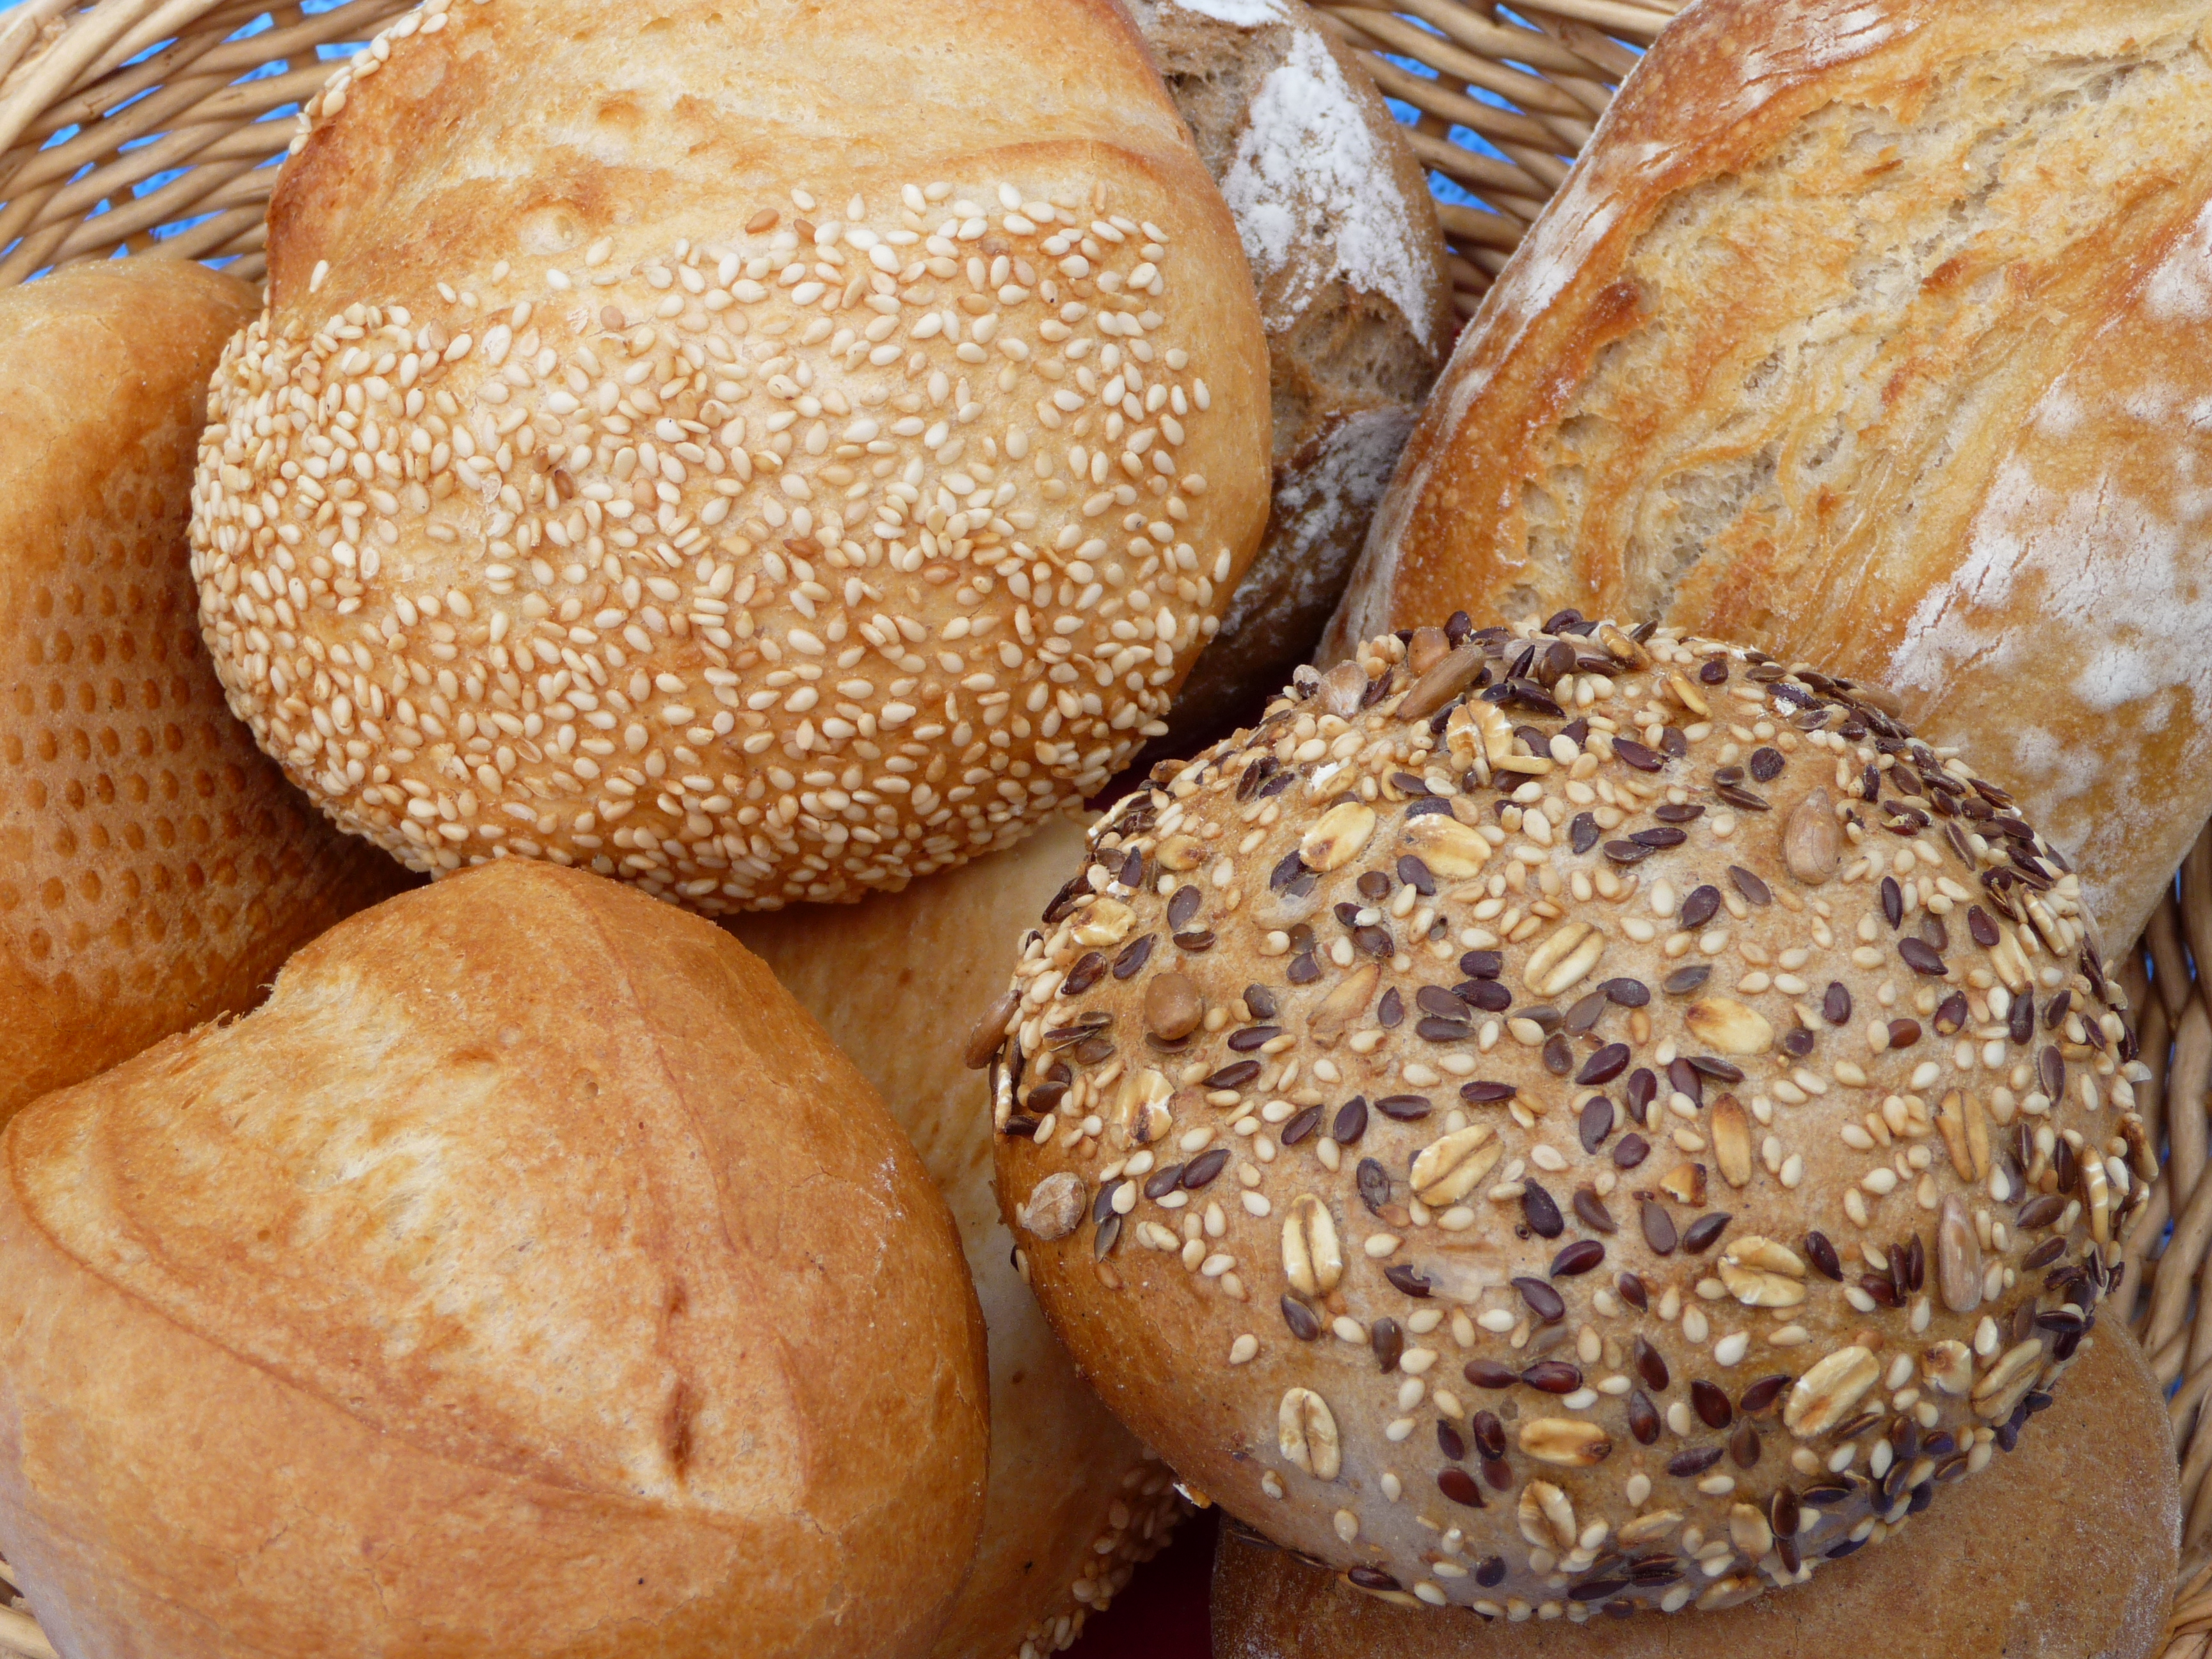
Food made of flour and water.
Baking bread at home can be a rewarding experience, filling your home with the comforting aroma of fresh bread and providing you with a nutritious and delicious product. One of the most crucial steps in the bread-making process is shaping and baking the bread. This article will guide you through these steps, ensuring you achieve a perfectly shaped loaf with a golden crust.
Shaping Dough into Loaves
Shaping your dough is an essential step in bread making. It not only gives your bread its final form but also affects the texture and crumb of your bread. Here are some steps to shape your dough:
-
Pre-shaping: After your dough has risen, gently deflate it and divide it into the desired number of pieces. Pre-shape each piece into a round or oval, depending on the final shape you want. Let the dough rest for 15-20 minutes.
-
Final shaping: Now, shape each piece into its final form. For a round loaf (boule), pull the edges of the dough towards the center, creating tension on the surface. For an oval loaf (batard), fold the dough into thirds, then roll it into a log.
-
Proofing: Place the shaped dough seam-side up in a floured proofing basket or on a baking sheet lined with parchment paper. Cover and let it rise until it has doubled in size.
Baking Your Bread
The baking process is where your bread develops its flavor, color, and texture. Here's how to bake your bread:
-
Preheat your oven: Preheat your oven to the temperature specified in your recipe. If your recipe doesn't specify a temperature, a good rule of thumb is 375°F (190°C) for enriched breads (those containing butter, milk, or eggs) and 450°F (230°C) for lean breads (those containing only flour, water, and yeast).
-
Score your bread: Just before baking, make a few slashes on the surface of your bread with a sharp knife or a bread lame. This allows the bread to expand in the oven without tearing.
-
Bake your bread: Place your bread in the preheated oven. For a crispy crust, you can create steam in the oven by placing a pan of hot water on the bottom rack or spraying water into the oven with a spray bottle. Bake your bread until it is golden brown and sounds hollow when tapped on the bottom.
-
Cool your bread: After baking, remove your bread from the oven and let it cool on a wire rack. Resist the temptation to cut into it immediately; letting your bread cool allows the crumb structure to set and the flavors to develop.
Shaping and baking bread may seem daunting at first, but with practice, you'll be able to create beautiful and delicious loaves of bread at home. Happy baking!