Baking and Pastry
- Bake Bread Basics
- Pastries And Pies
- 4.1Basics of pastry making
- 4.2Types of pastry: Shortcrust, Puff & Filo
- 4.3Making Quiche and Tarts
- 4.4Making Sweet Pies (Apple pie)
- 4.5Making Savory pies (Chicken pot pie)
- 4.6Making Choux pastry & Cream puffs
- 4.7Making Éclairs and Profiteroles
- 4.8Specialty Pastry: Mille Feuille
- 4.9Flaky Pie Crusts: Tips and Techniques
- 4.10Creative Pie Decoration Techniques
- Cakes & Cupcakes
- Cookies & Small Bites
- 10.1Cookie Baking Basics
- 10.2Classic Almond Biscotti
- 10.3Making Chocolate Chip Cookies
- 10.4Nutty Walnut Cookies
- 10.5Making Sugar Cookies and Decorating with Royal Icing
- 10.6Making Macarons
- 10.7Making Petit Fours
- 10.8Specialty Cookies: French Madeleines
- 10.9Specialty Cookies: Italian Amaretti
- 10.10Packaging & Presentation of Cookies and Small Bites
Cookies & Small Bites
Photography Tips for Your Baked Goods
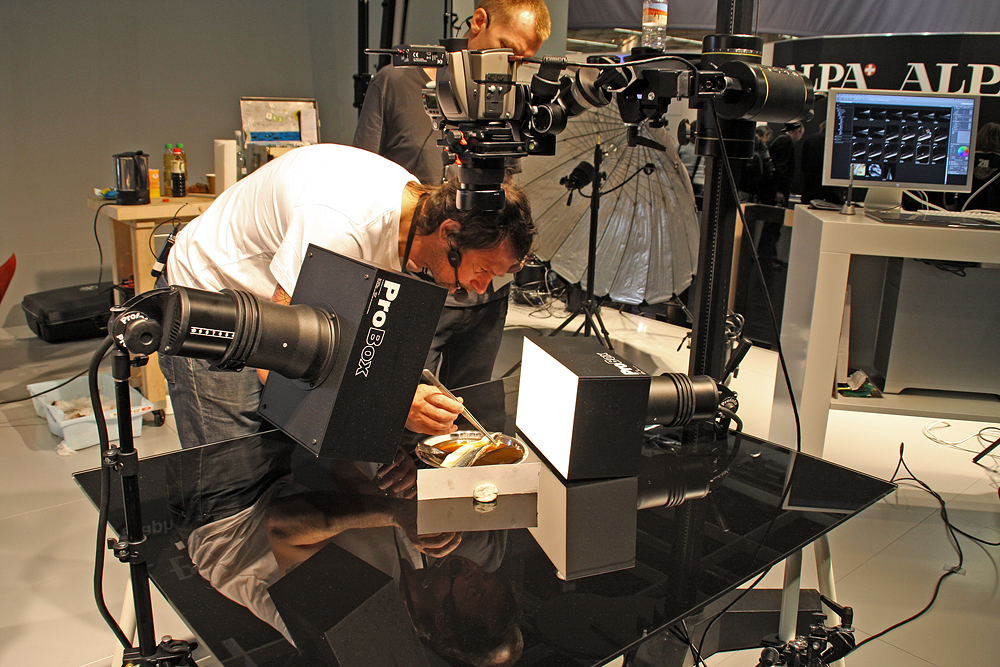
Photography genre.
In the age of social media, food photography has become an essential skill for any baker. A well-composed, beautifully lit photograph can make your baked goods look even more appetizing and can attract more customers or followers. Here are some basic food photography tips to help you capture your cookies and small bites in the best light.
Basic Food Photography Tips
-
Use a Tripod: A tripod can help you keep your camera steady, which is especially important when you're shooting in low light conditions. It also allows you to experiment with different angles and perspectives.
-
Experiment with Angles: Different baked goods look best from different angles. Cookies might look best shot from above, while a stack of cookies might look better shot from the side. Don't be afraid to move around and try different angles until you find the one that shows off your baked goods the best.
-
Pay Attention to Composition: The rule of thirds is a basic principle of composition that can help make your photos more interesting. Imagine your frame divided into a 3x3 grid and try to place the main elements of your photo along those lines or at their intersections.
-
Use Props: Props can help tell a story and make your photos more interesting. You could use baking tools, ingredients, or even a cup of coffee or a glass of milk. Just make sure the props don't distract from the main subject - your baked goods.
Using Natural Light
Natural light is your best friend when it comes to food photography. It's soft, diffused, and brings out the natural colors of your food. Here are some tips for making the most of natural light:
-
Shoot Near a Window: A window can provide a great source of natural light. Try to set up your shooting area near a window, but out of direct sunlight, which can be too harsh and create unflattering shadows.
-
Use Reflectors: If one side of your food is in shadow, you can use a reflector to bounce some light back onto it. A piece of white cardboard can work as a simple, inexpensive reflector.
-
Avoid Using Flash: The flash on your camera can create harsh, unflattering light. It's usually best to avoid using it and stick to natural light instead.
Styling Your Baked Goods for Photos
How you present your baked goods in your photos can make a big difference. Here are some styling tips:
-
Show the Inside: If your baked goods have an interesting interior, like a filled cookie or a layered cake, cut a piece out to show it off.
-
Use Garnishes: A sprinkle of powdered sugar or a few fresh berries can add a pop of color and make your baked goods look even more delicious.
-
Show the Process: Photos of the baking process, like a bowl of dough or a tray of unbaked cookies, can add interest and tell a story.
Remember, the most important thing is to have fun and let your passion for baking shine through in your photos. With a little practice, you'll be taking beautiful food photos in no time.